
Table of Contents
ToggleLethal Company Beginners Guide and Tips
Welcome to Lethal Company Beginners Guide and Tips, Lethal Company, a co-op dungeon delving game, plunges you into a perilous world where survival hinges on your scavenging skills and teamwork. Embrace the thrill of exploration and overcome the dangers that await in this exhilarating adventure.
Navigating Your Home Base: A Guide to Lethal Company's Main Ship
Your ship serves as your sanctuary amidst the perilous depths of Lethal Company. It houses two crucial interactive elements: the monitor and the terminal.
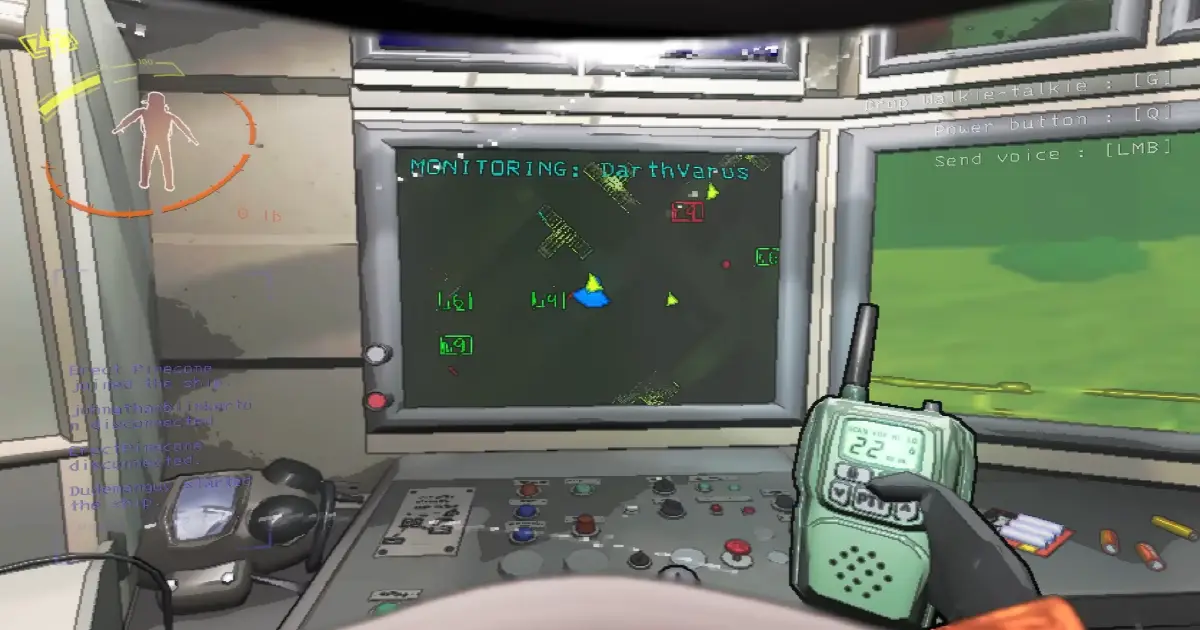
The Monitor: Your Map and Navigation
The monitor provides a clear overview of your surroundings, displaying the location of your teammates, details of the area you’re currently hovering over, and allowing you to land on or depart from moons. It’s your indispensable tool for planning your next expeditions.
The Terminal: Your Gear Hub
The monitor provides a clear overview of your surroundings, displaying the location of your teammates, details of the area you’re currently hovering over, and allowing you to land on or depart from moons. It’s your indispensable tool for planning your next expeditions.
Choosing Your Landing Spot: Initiating Scavenging
To begin your scavenging mission, you must select a location to land on. Remember that each day represents an entire time spent at one location. Landing on a moon to gather scrap consumes an entire day, and once you leave, the day is over.
Planning Your Looting Runs: A Guide to Day-Night Cycles and Weather Effects
Your scavenging expeditions begin at 8:02 a.m., granting you a window of opportunity to gather loot before the dangers intensify. As nightfall approaches, more and more monsters emerge, making it increasingly perilous to linger. By midnight, if you haven’t returned to the ship, it will depart without you, leaving you stranded.
Moon Selection: Balancing Difficulty and Rewards
When selecting a moon to land on, consider the difficulty level and loot density. The first three moons are beginner-friendly, offering free travel and moderate loot. The next two offer higher loot and difficulty, while the final moons provide the most lucrative rewards but require payment to access.
Weather Conditions: Navigating Fog, Storms, and Floods
Weather conditions play a significant role in your scavenging success. Fog reduces visibility, making it easy to get lost. Storms pose a risk when carrying metallic objects, as lightning can strike you instantly. Floods block off certain areas, increasing navigation difficulty.
Eclipses: A Challenge for Experienced Scavengers
Eclipses present a unique challenge, flipping the day-night cycle. Landing on an eclipsed moon means starting your expedition under the cloak of darkness, making it extra perilous. Avoid eclipsed moons unless you’re an experienced scavenger.
Time Management: Making the Most of Your Looting Window
With your moon selected, you have from 8:02 a.m. to midnight to gather loot and return to the ship. Utilize this time wisely, strategizing your looting route to maximize your haul and minimize exposure to nighttime dangers.
Navigating the Randomized Depths: A Guide to Exploring Facilities
Each facility you encounter is procedurally generated, offering a unique layout, items, and enemies. Stay vigilant as you explore, utilizing your right-click scan to detect nearby threats and objects. This constant scanning will help you identify potential dangers, locate your ship, and find the facility’s main entrance or fire escapes. Remember, every facility has at least two entrances, so if the main entrance is compromised, seek out an alternative route.
Gathering Valuable Scrap: A Guide to Inventory Management
As you explore the facility, keep an eye out for valuable items that can be held in one hand or with both hands. Two-handed items, such as engines or nuclear reactors, require both hands to carry, restricting your ability to interact with objects or pick up other items. Allocate your inventory slots wisely, prioritizing one-handed items before attempting to carry two-handed ones. Remember, every scrap you find holds no value unless it successfully reaches the ship. Ensure you bring all items back before the ship departs or your untimely demise, as any items left behind will be lost.

Navigating Hazards and Traps: A Guide to Facility Obstacles
As you venture deeper into the facility, be prepared to encounter a variety of obstacles, including:
- Monsters: These creatures become more prevalent as nightfall approaches. Learn their patterns and develop strategies to avoid or counter them.
- Traps: Steam valves can reduce visibility, requiring you to navigate through the mist to deactivate them. Landmines pose a threat, so tread carefully and avoid stepping on them.
- Automated Turrets: These robotic sentries will detect and fire upon you. Disarm them using the ship’s terminal or temporarily engage them with weapons or items.
- Secure Doors: These doors can only be opened or closed using the ship’s terminal.

While some monsters may be best avoided, many can be dealt with through careful observation and understanding of their behaviors. Scan encountered monsters to gain insights into their weaknesses and counterplay strategies.
Harnessing the Power of the Terminal: A Guide to Remote Control and Ship Upgrades
The terminal serves as a powerful tool for managing operations both within the facility and on the ship. Here’s how to utilize its capabilities effectively:
Remote Monitoring and Control
- Monitoring Teammates: Keep an eye on your teammates’ movements through the radar system, providing them with guidance and support.
- Opening and Closing Secure Doors: Use the “open” command followed by the door’s moniker (usually a letter and number, e.g., “open T9”) to remotely control secure doors.
- Disabling Turrets: As teammates approach a turret, its name will appear. Use the terminal to temporarily disable the turret, allowing them to pass safely.
Navigation Assistance
- Identifying Threats: Anticipate potential dangers by observing enemy movements through the radar. Alert your teammates to avoid these threats.
- Guiding Teammates: Direct your teammates to fire exits or the main door, especially in complex or dimly lit areas.
Ship Upgrades
- Inverse Teleporter: This upgrade allows for instant transportation from the facility to the ship. Initiate the teleportation process from the ship.
- Time Monitoring: As time is only visible outside the facility, having a designated monitor outside can ensure your team doesn’t miss the ship’s departure.
Remember, effective communication and coordination are crucial for maximizing the terminal’s benefits.
Harnessing the Terminal for Purchases and Information
The terminal acts as your central hub for acquiring and managing items. Here’s a breakdown of its key functions:
Purchasing Goods
- Store Access: Type “store” on the terminal to view the available items for purchase.
- Delivery and Retrieval: Once you purchase items, a package will appear on the ship’s exterior at the top of the hour. Collect these items before they despawn.
Essential Items
- Flashlight: Illuminates dark pathways and enhances navigation in labyrinthine areas.
- Boom Box: Distracts sound-based enemies, both outside and within facilities, allowing you to lure them away.
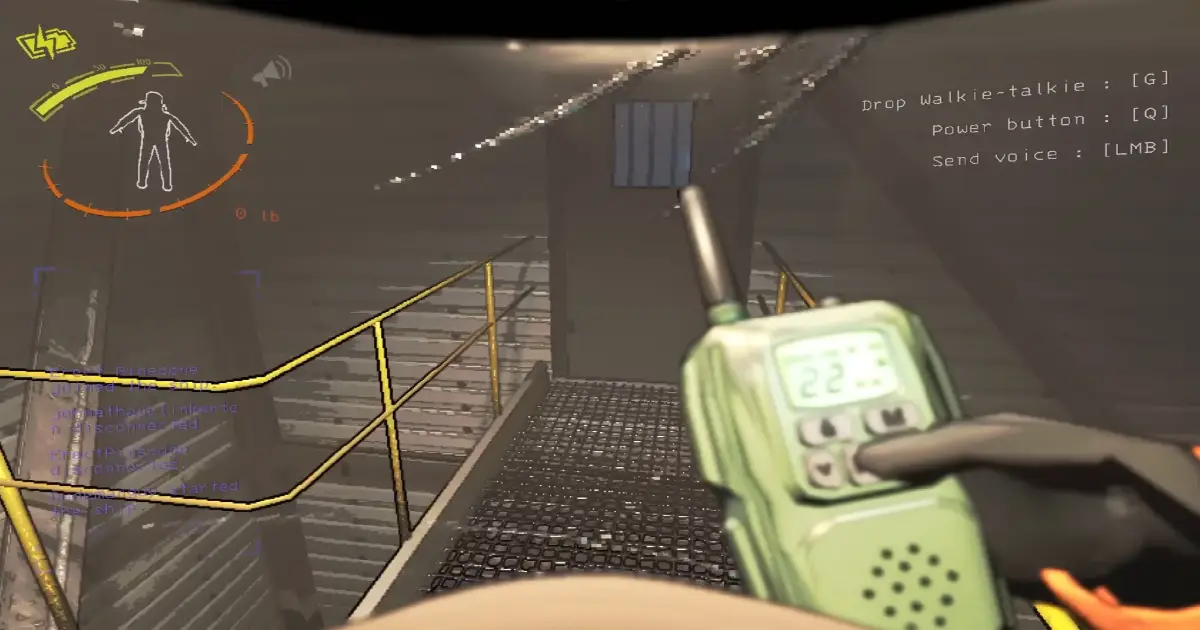
- Walkie-Talkie: Enables communication with teammates regardless of distance. Proximity-based voice chat is limited.
- TCP Inhalant: Restores stamina and provides a temporary speed boost, useful for outrunning monsters like Circuit Bees or BL Eyeless Dogs.
Facility Scanning
- Scan Command: Typing “scan” on the terminal reveals the number and total value of items remaining in the facility, helping you assess the potential for further exploration.
Maximizing Profits and Avoiding Losses: A Guide to Selling and Penalties
Remember, the ship departs at midnight, regardless of your team’s presence. If the ship leaves without anyone on board, the entire crew is wiped out, and all unsold items are lost. This highlights the importance of having a designated command center person to manage operations and salvage some items in case of a complete team wipeout.
Handling Crew Casualties
- Death Penalty: Deceased crew members lose all items they were carrying.
- Fine Mitigation: Retrieving a crew member’s body and bringing it back to the ship before the end of the run avoids the associated casualty fine.
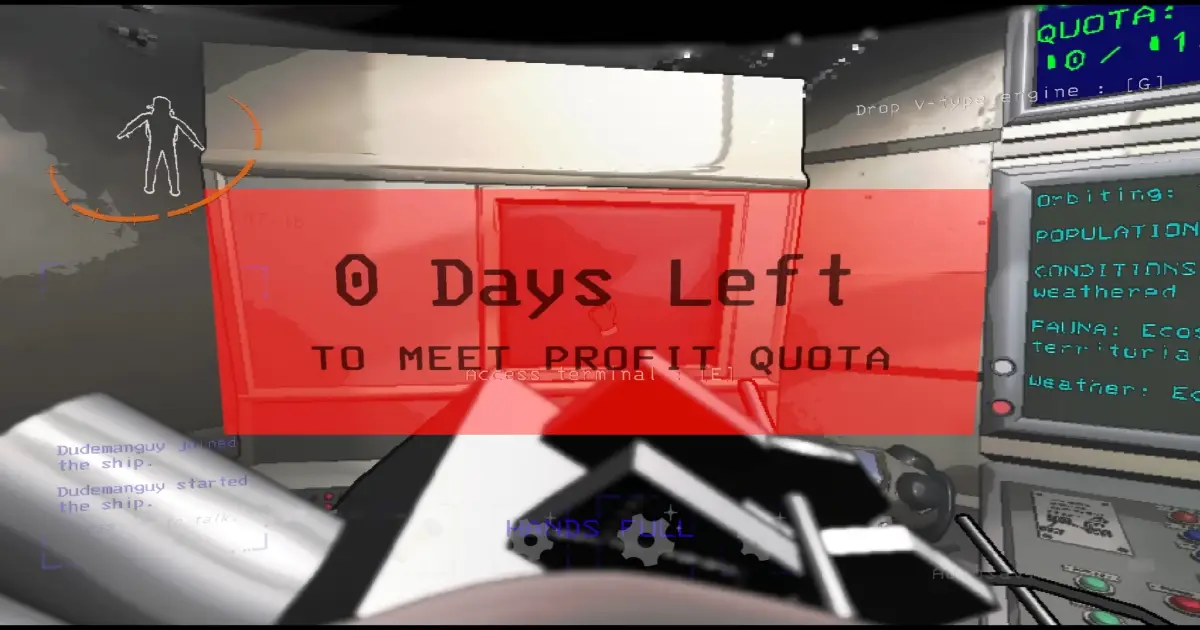
Maximizing Item Value
- Selling at Peak Value: Delay selling items until the quota’s due date to receive the highest value (100%).
- Strategic Selling: Avoid frequent selling trips to the company building, as they consume time and reduce overall profit.
- Risk Management: Balance the risk of losing unsold items with the potential gains from waiting for peak value.
Overall Conclusion
Lethal Company offers a thrilling blend of exploration, survival, and strategic decision-making, immersing you in a perilous world where every decision carries weight. From navigating treacherous environments to facing formidable foes, your scavenging skills and teamwork will be put to the ultimate test. As you delve deeper into the depths, uncover the secrets that lie hidden and emerge victorious, or succumb to the dangers lurking beneath the surface. Hope you enjoyed the article on Lethal Company beginners guide and tips, if you have any questions just comment down below.
FAQs
Your ship serves as your base of operations and a sanctuary amidst the perilous depths. It houses two crucial interactive elements: the monitor and the terminal. The monitor provides a clear overview of your surroundings, displaying teammate locations, details of the current area, and allowing you to land on or depart from moons. The terminal acts as your central hub for managing gear, planning routes, interacting with items within facilities, and buying ship upgrades.
A flashlight is indispensable for navigating dark pathways and illuminating labyrinthine areas. Boom boxes are useful for distracting sound-based enemies, allowing you to lure them away from objectives or create safe passage. Walkie-talkies enable communication with teammates regardless of distance, making coordination and collaboration easier. TCP Inhalants provide a temporary stamina boost and speed increase, helpful for outrunning dangerous monsters.